Here's my latest Schwimmer. It's the old but good Tamiya kit, with a few minor additions. AFV Club has brought out a new version of the schwimmwagen, so it will be interesting to see how that one builds. I'm waiting on the crew to be delivered - more pics once they are done. I'll also add some clutter on the rear seats...
Here is my latest disc pattern Panther G from the Ardennes offensive. It's the DML Steel Wheeled Panther using the rubber tyred wheeled that are helpfully included in the kit. The disc pattern scheme was created using the excellent Uschi Van der Rosten stencils.
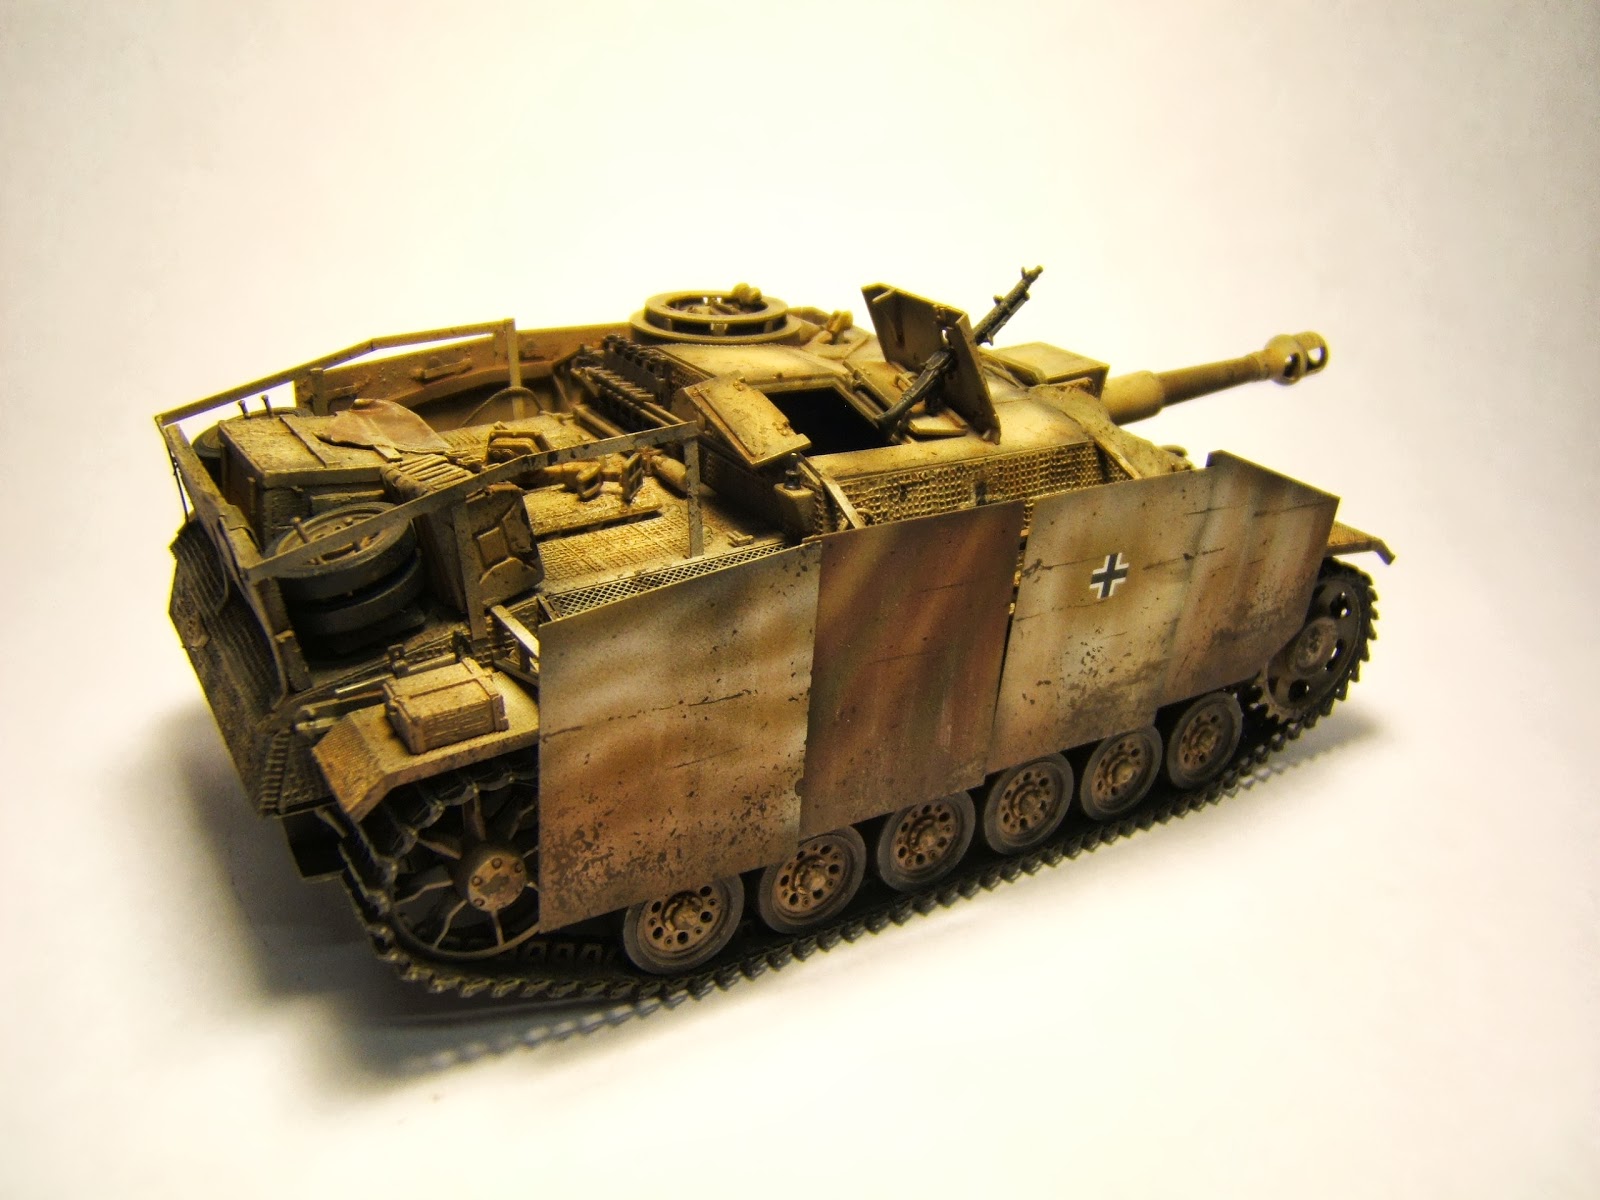
This is another DML StuH 42 with moulded on zimm. This one features an Armorscale metal barrel and resin mantlet, home made concrete armour (Squadron Green Putty), soft brass tow cable with resin ends, a home made stowage cage and stowage, and Eduard schurzen. The kit doesn't include the schurzen mounting rails but luckily the older DML StuH 42 includes two sets so I was able to utilise those.
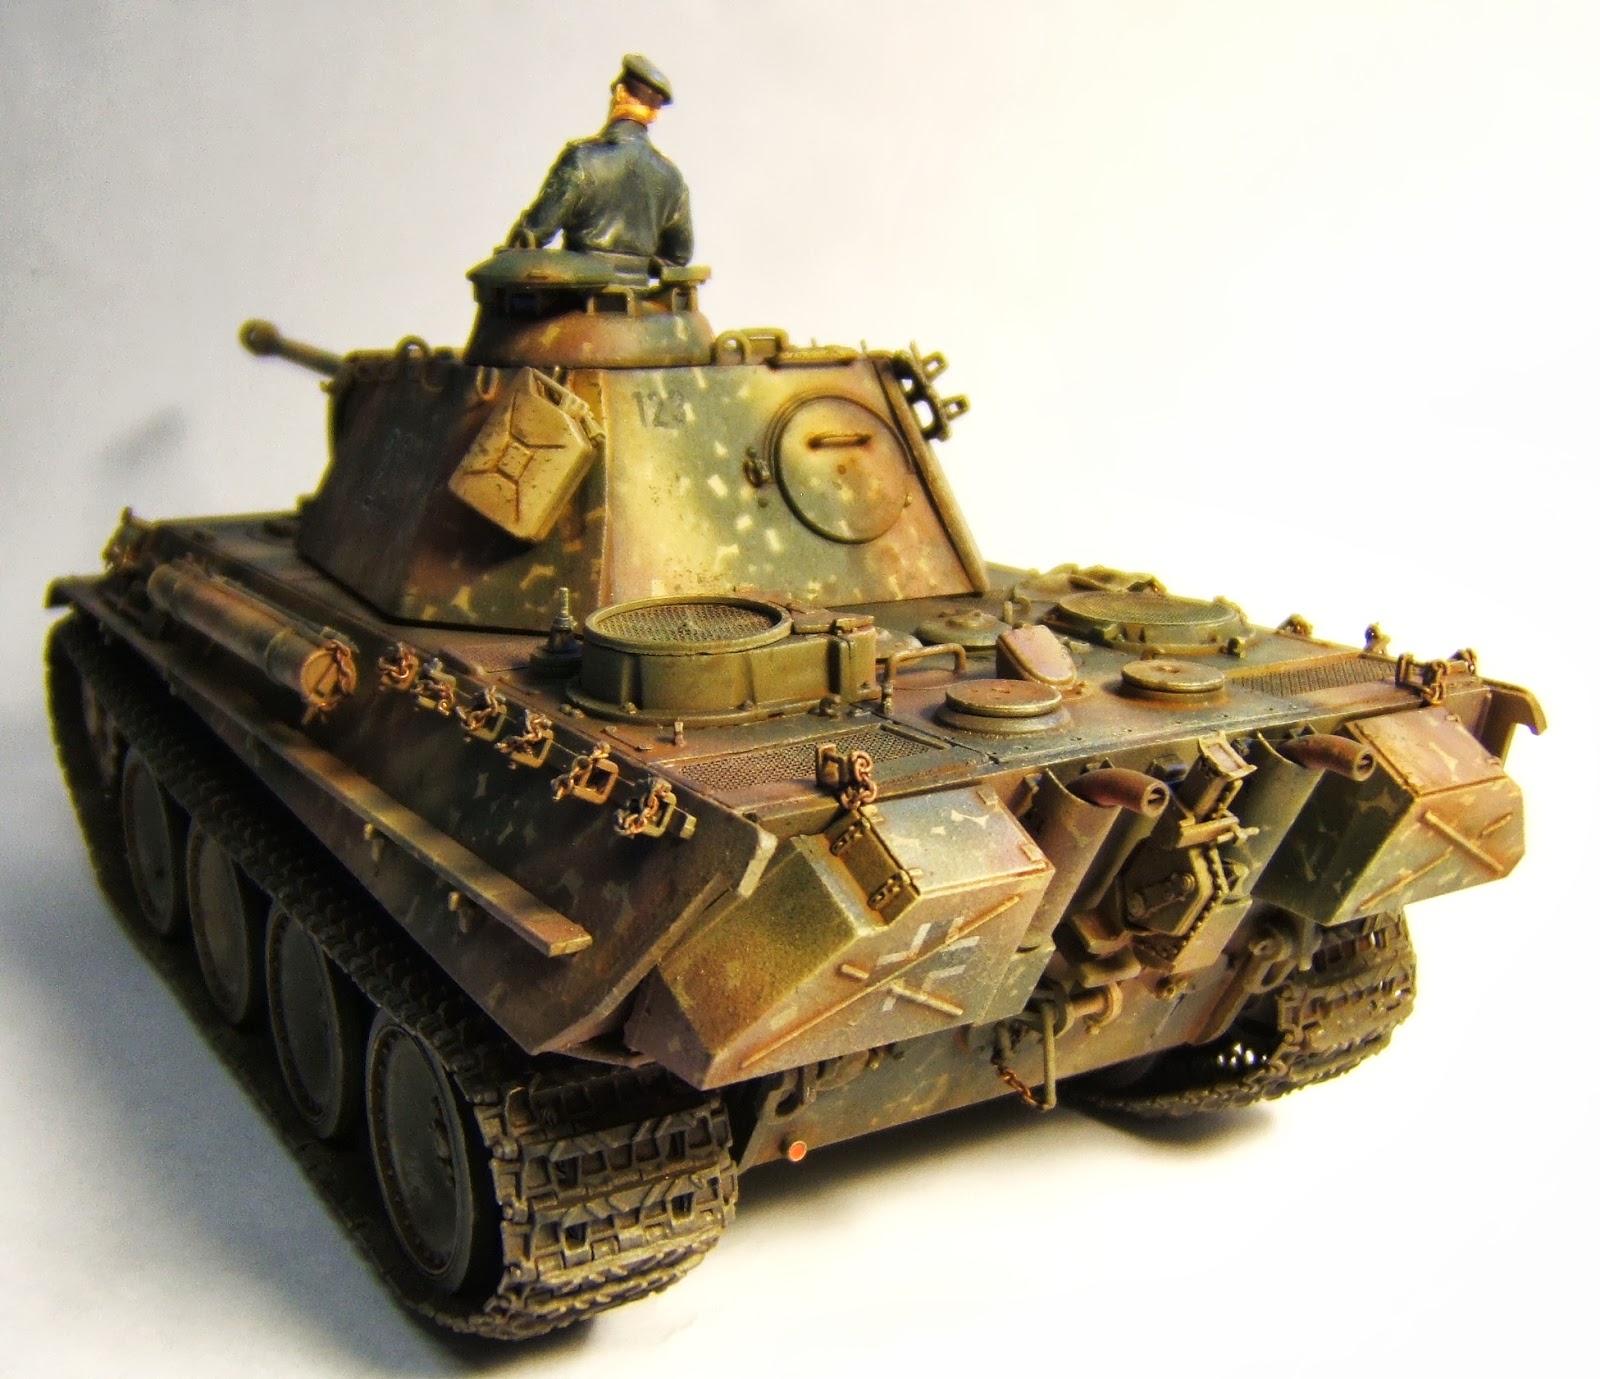
Here's a few pics of my latest Panther. Another Ausf G of the Ardennes offensive, this time coded 121, a vehicle of the 1/SS Pz Division which was mount of Uscha Erich Strelow. Duel in the Mist 2 has him down as commanding either 121 or 123.
Complete conjecture on my part, but the vehicle is finished in a hard edged "dot" camouflage scheme, and early/late G features such as the standard non-chinned mantlet, no crew heater and non flame dampening exhausts. I used the DML steel-wheel Panther, using the rubber wheels which are spare in the kit. The figure is from the Miniart range with a Hornet head.
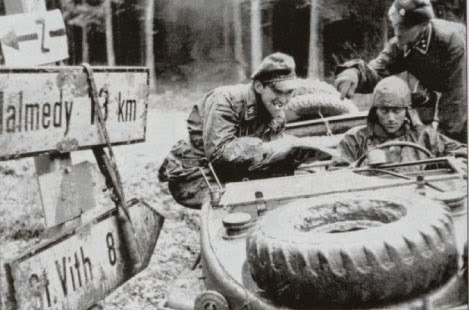
Here is my rendition of the iconic schwimmwagen as photographed during "Wacht am Rhein" or the Ardennes offensive of winter 1944/45. The schwimmer is the excellent Tamiya kit with some etched brass and scratchbuilt additions and the crew is a resin set by Jaguar.
OK - here is the finished article. After buttoning up the top and bottom hull I started work on the exterior details. I used a large part of the Aber set for the vehicle, as well as the better parts of the Eduard photo-etch included in the kit. Once I was happy with the exterior, it got a base coat of Tamiya acrylic black/hull red mixed 50/50, followed by a base coat of Hull red. The dunkelgelb and white hard-edged scheme was achieved with a mixture of hand painting and tight spraying using an Iwata Eclipse airbrush. This took a number of sequences until I was happy with the overall result. I then painted all the exterior details using a mixture of Tamiya, Vallejo and Lifecolor acrylics. Decals were by Archer and the spares box.
Once this was done, I applied a post shade using a dark grey / black mix of Tamiya acrylics over a coat of Vallejo matt varnish. This mix was also dusted over the vehicle to tone down the bright camouflage colours. A heavily thinned dust coat was then applied to tie it all together.
Weathering followed my usual pattern of oil filters and pin washes, followed by Vallejo acrylics applied with a fine brush and lots of patience. Anyhow, here it is, and I declare myself pretty happy with the results!