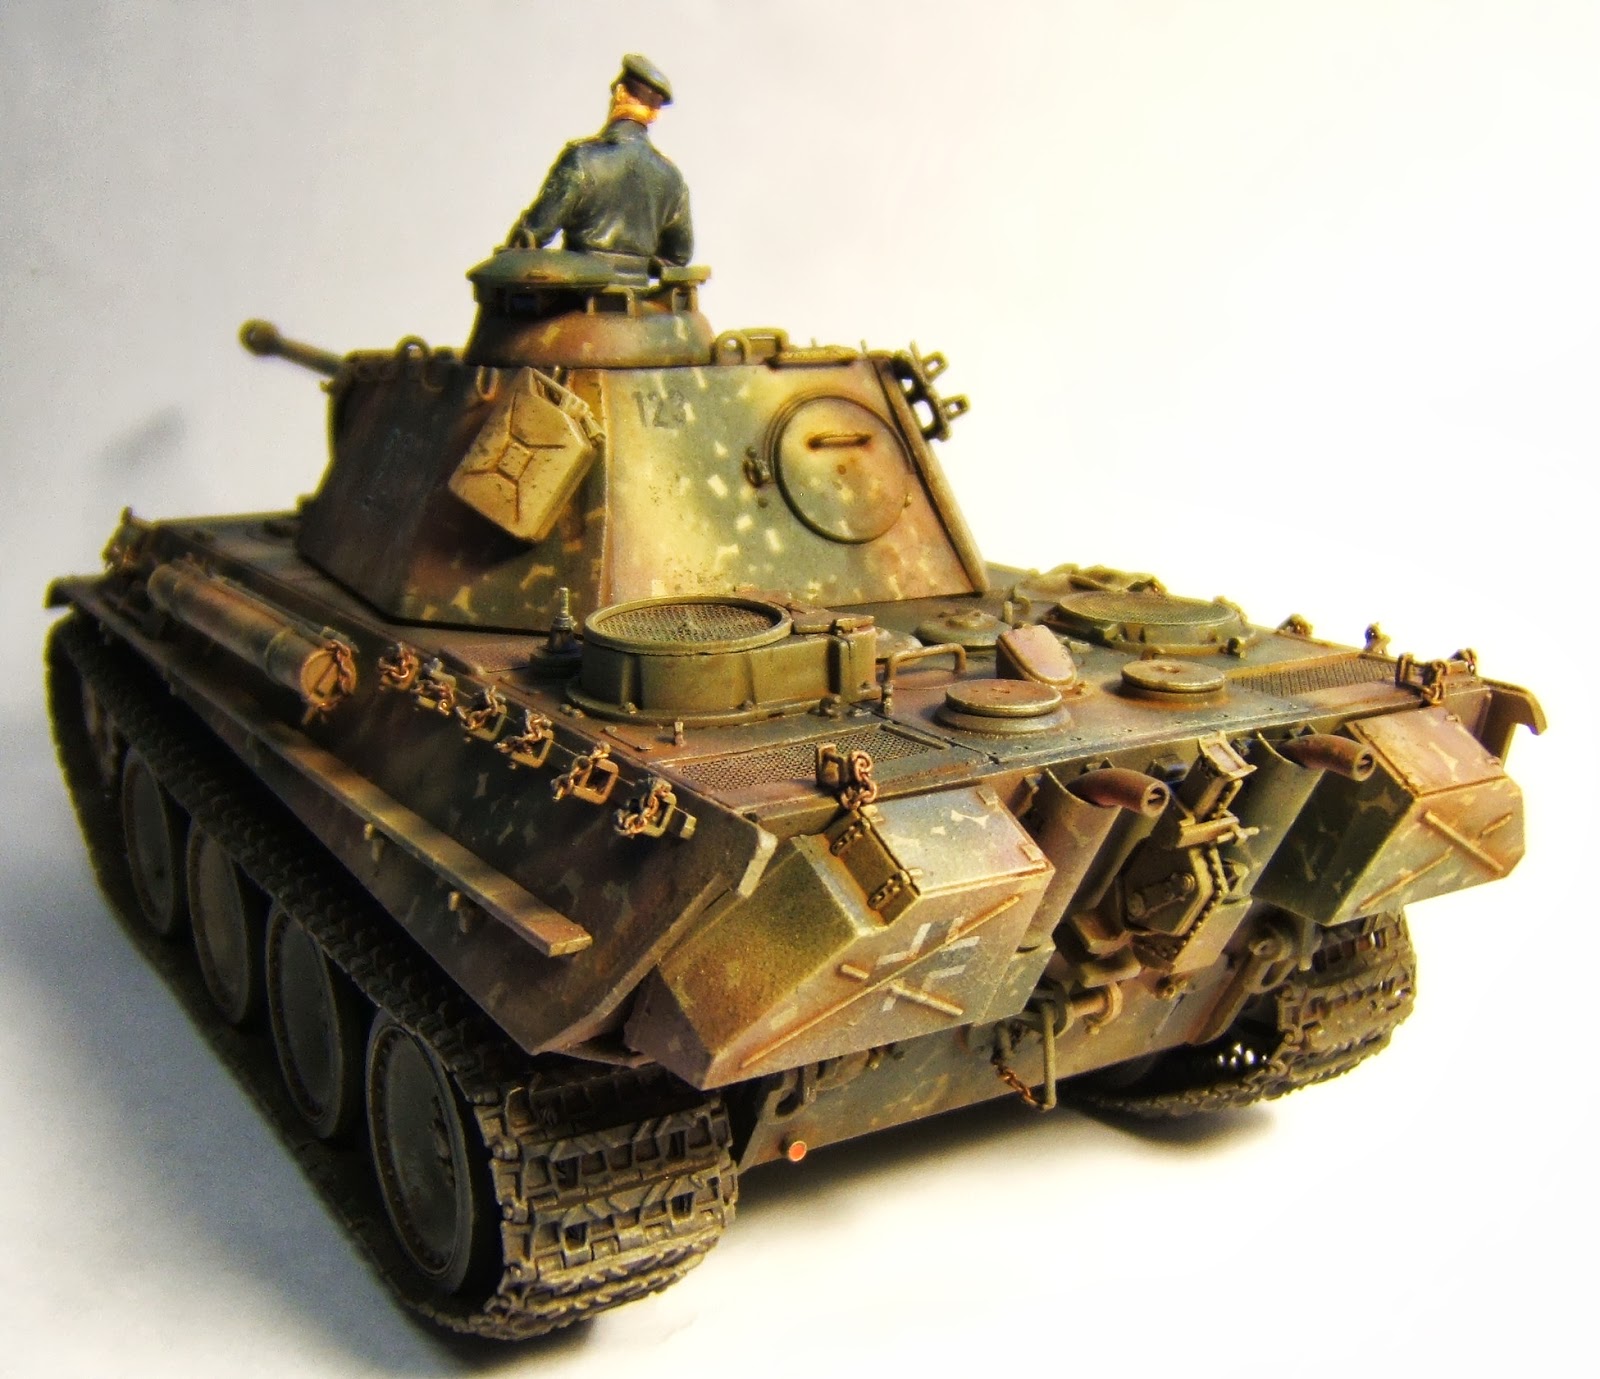
Here is my latest disc pattern Panther G from the Ardennes offensive. It's the DML Steel Wheeled Panther using the rubber tyred wheeled that are helpfully included in the kit. The disc pattern scheme was created using the excellent Uschi Van der Rosten stencils.
About Me
- Dave's Tank Workshop
- I'm a UK based modeller, specialising in German and Commonwealth armour. I have worked on a commission basis for enthusiasts all over the world, created masters for one of the big 1/32 resin "ready made" model companies, and have recently helped out on some projects for Archer Fine Transfers and other 1/35 armour accessory companies. I build for myself - when I have time! - concentrating on Stugs, Pz IV's and UK and Commonwealth WW2 stuff. I also post my work on www.track-link.com, www.missing-lynx.com and www.warwheels.net. Please leave comments or questions on the blog or on any of the websites I post on. If you would like to contact me, just click on "view my complete profile" below for my email address. All the best, and thanks for visiting! Dave
Saturday, 6 July 2013
Sunday, 16 June 2013
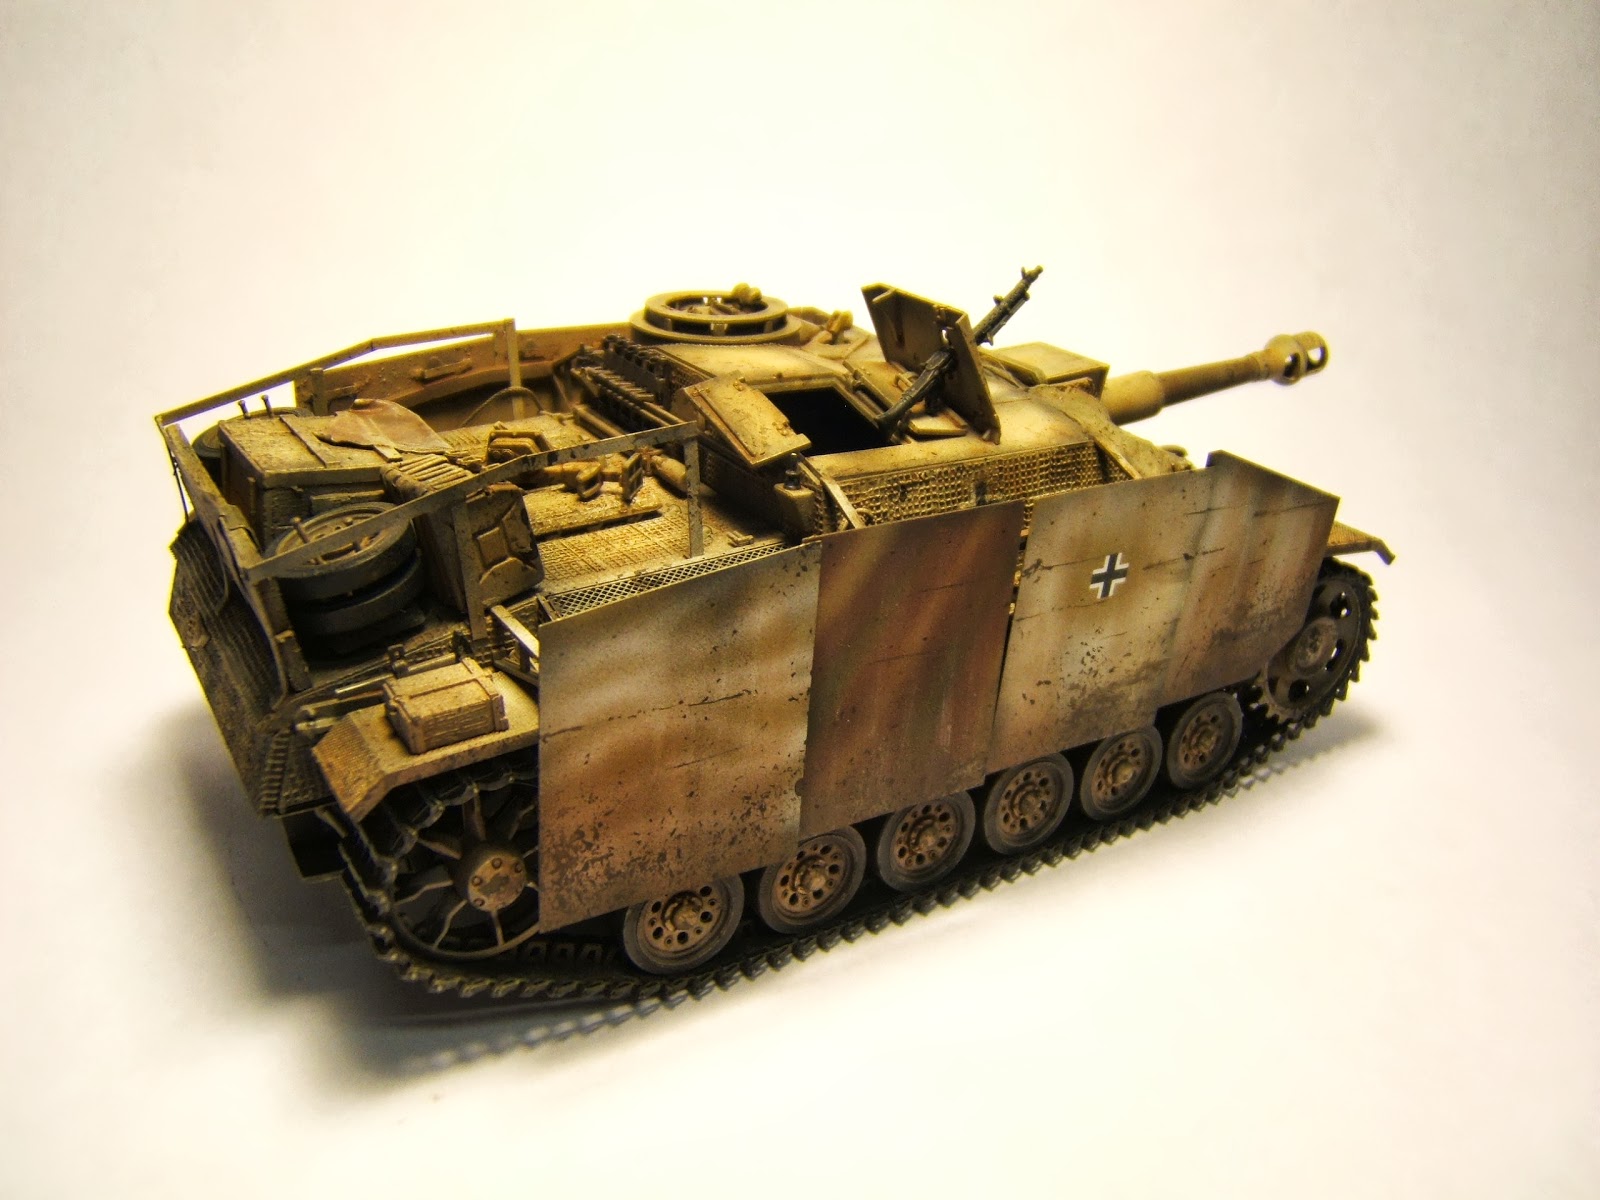
StuH 42 - Ostfront
This is another DML StuH 42 with moulded on zimm. This one features an Armorscale metal barrel and resin mantlet, home made concrete armour (Squadron Green Putty), soft brass tow cable with resin ends, a home made stowage cage and stowage, and Eduard schurzen. The kit doesn't include the schurzen mounting rails but luckily the older DML StuH 42 includes two sets so I was able to utilise those.
Sunday, 9 June 2013
Ardennes Panther G "121"
Here's a few pics of my latest Panther. Another Ausf G of the Ardennes offensive, this time coded 121, a vehicle of the 1/SS Pz Division which was mount of Uscha Erich Strelow. Duel in the Mist 2 has him down as commanding either 121 or 123.
Complete conjecture on my part, but the vehicle is finished in a hard edged "dot" camouflage scheme, and early/late G features such as the standard non-chinned mantlet, no crew heater and non flame dampening exhausts. I used the DML steel-wheel Panther, using the rubber wheels which are spare in the kit. The figure is from the Miniart range with a Hornet head.
Sunday, 19 May 2013
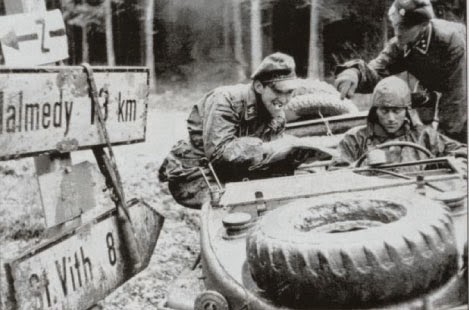
Ardennes Schwimmwagen
Here is my rendition of the iconic schwimmwagen as photographed during "Wacht am Rhein" or the Ardennes offensive of winter 1944/45. The schwimmer is the excellent Tamiya kit with some etched brass and scratchbuilt additions and the crew is a resin set by Jaguar.
Monday, 6 May 2013
Jagdpanzer 38T Hetzer - 167 Volks-Grenadier Division, Luxembourg, December 1944
OK - here is the finished article. After buttoning up the top and bottom hull I started work on the exterior details. I used a large part of the Aber set for the vehicle, as well as the better parts of the Eduard photo-etch included in the kit. Once I was happy with the exterior, it got a base coat of Tamiya acrylic black/hull red mixed 50/50, followed by a base coat of Hull red. The dunkelgelb and white hard-edged scheme was achieved with a mixture of hand painting and tight spraying using an Iwata Eclipse airbrush. This took a number of sequences until I was happy with the overall result. I then painted all the exterior details using a mixture of Tamiya, Vallejo and Lifecolor acrylics. Decals were by Archer and the spares box.
Once this was done, I applied a post shade using a dark grey / black mix of Tamiya acrylics over a coat of Vallejo matt varnish. This mix was also dusted over the vehicle to tone down the bright camouflage colours. A heavily thinned dust coat was then applied to tie it all together.
Weathering followed my usual pattern of oil filters and pin washes, followed by Vallejo acrylics applied with a fine brush and lots of patience. Anyhow, here it is, and I declare myself pretty happy with the results!
Once this was done, I applied a post shade using a dark grey / black mix of Tamiya acrylics over a coat of Vallejo matt varnish. This mix was also dusted over the vehicle to tone down the bright camouflage colours. A heavily thinned dust coat was then applied to tie it all together.
Weathering followed my usual pattern of oil filters and pin washes, followed by Vallejo acrylics applied with a fine brush and lots of patience. Anyhow, here it is, and I declare myself pretty happy with the results!
Saturday, 4 May 2013
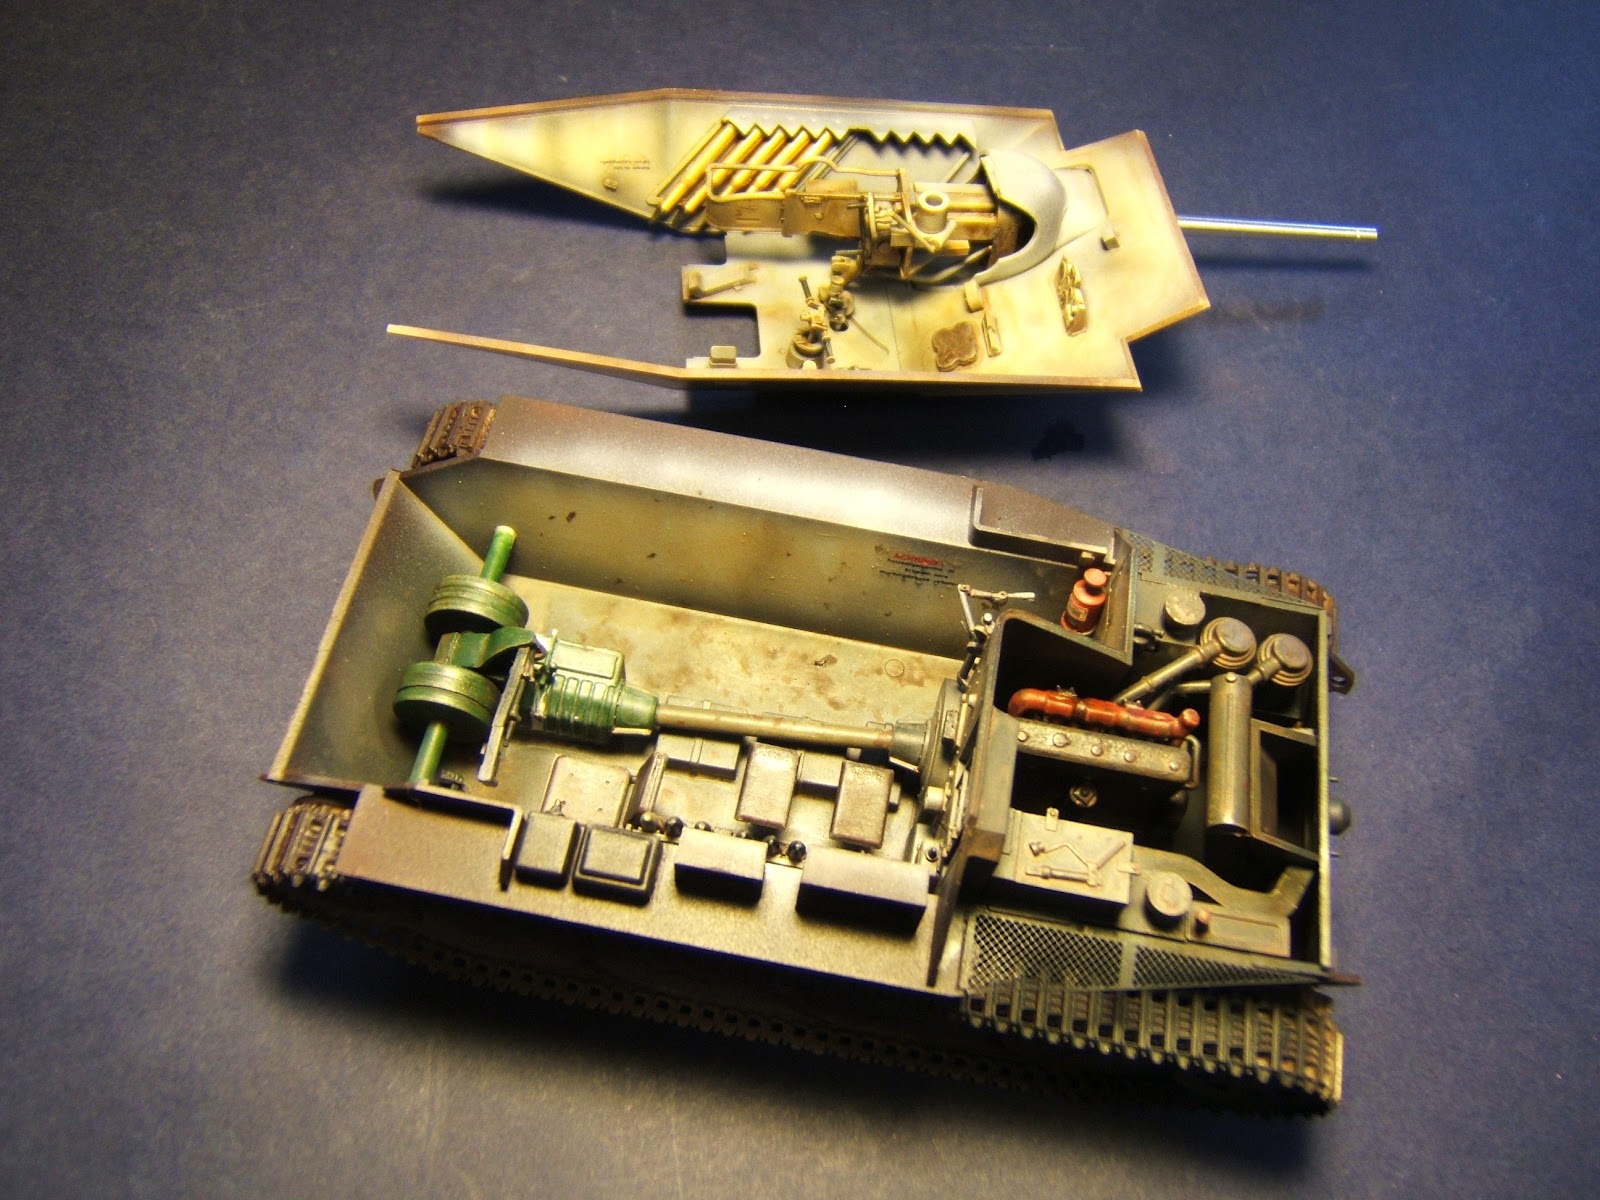
Hetzer with interior #1
I'm posting a couple of pictures of the Eduard late Hetzer with interior detail. It's been an extremely slow and complex build so far. The fit has been good overall, but the kit is characterised by numerous small and very detailed parts that are difficult to work with in styrene. Be warned!
The only serious downer has been the barrel. You'd best replace it with a metal one. In this case, an Armorscale item. You will need to perform some minor surgery to get it to fit, but the result will be worth it. The 75mm shells are a little "clunky" but you won't see any more than the tips through the hatches one the top hull is buttoned up, so it's not worth replacing them.
Anyway, here we are:
Subscribe to:
Posts (Atom)